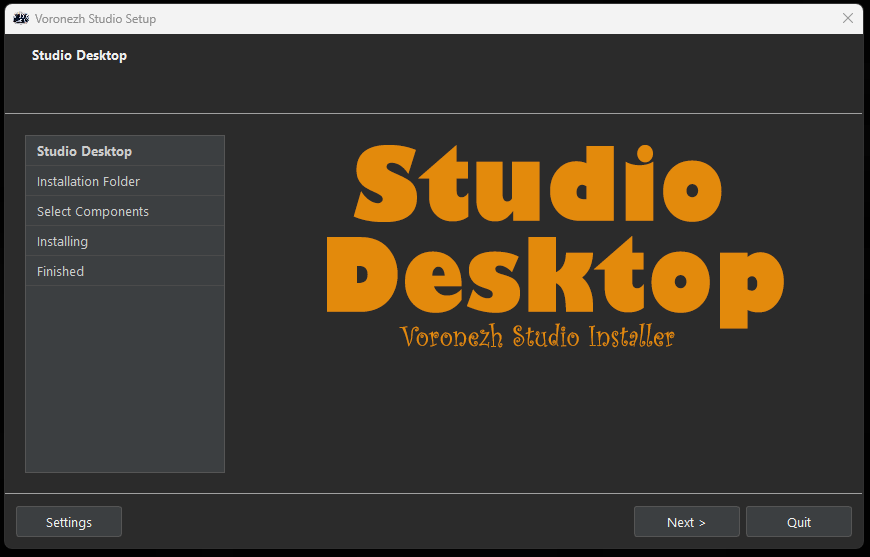
Software Installation and Settings: Studio Desktop
Before you begin the installation of our software, please ensure the following:
- You have received your
loginandpasswordfrom the animation coordinator for your project. - Your system is running
Windows 10 x64. - You only use the Latin symbols in username.
- ``Autodesk Maya 2024` Update 2 is installed.
To check the version of your update in Maya, enter the following code in the Script Editor (Mel): about -iv
Installation
Studio Desktop- a tool developed by our studio to streamline your workflow.
The application allows you to download our assets, export .ma files for approved scenes, and launch our scenes without the need to manually fix reference paths.
Along with Studio Desktop, our custom Maya plugins and scripts are installed to facilitate scene assembly, rigging, and picker tools.
We use an online installer. Please ensure that your internet connection is active before installation.
- After clicking the link, the installer will be downloaded to your computer. Run the installer.

-
You may encounter antivirus warnings, e.g. on Windows 10. Disable the antivirus if necessary.
-
Click the
Nextbutton.
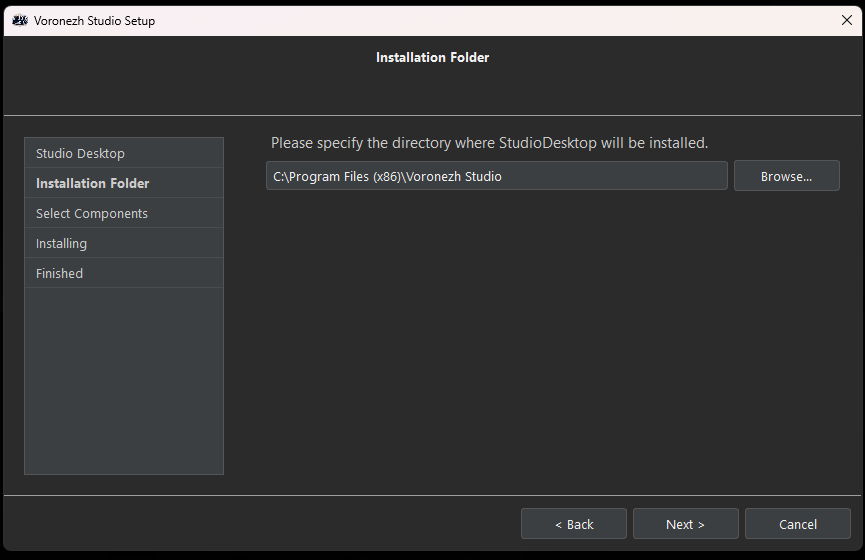
- Choose the default installation folder or a custom location that suits your needs.
Do not select the root directory (e.g., C:\) for installation. If you do, deleting Studio Desktop may result in the removal of all files on that drive.
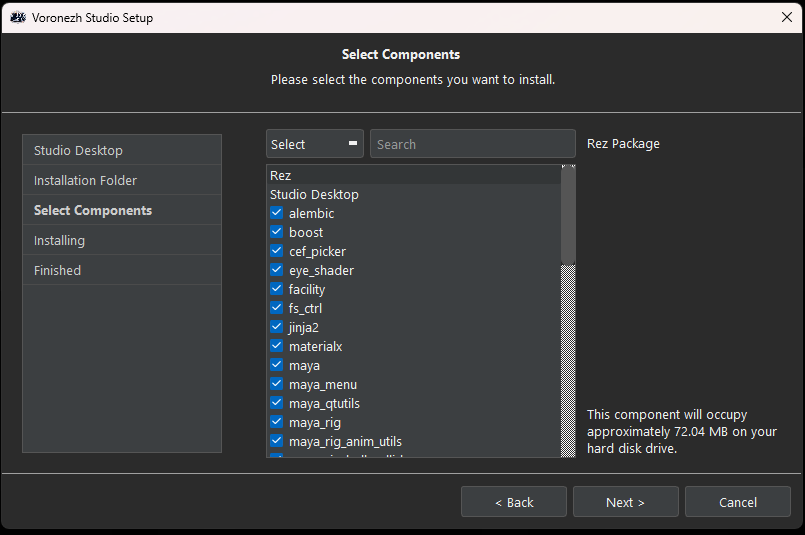
- Select the components you need (if unsure, leave the default options selected).
- Click the
Installbutton.
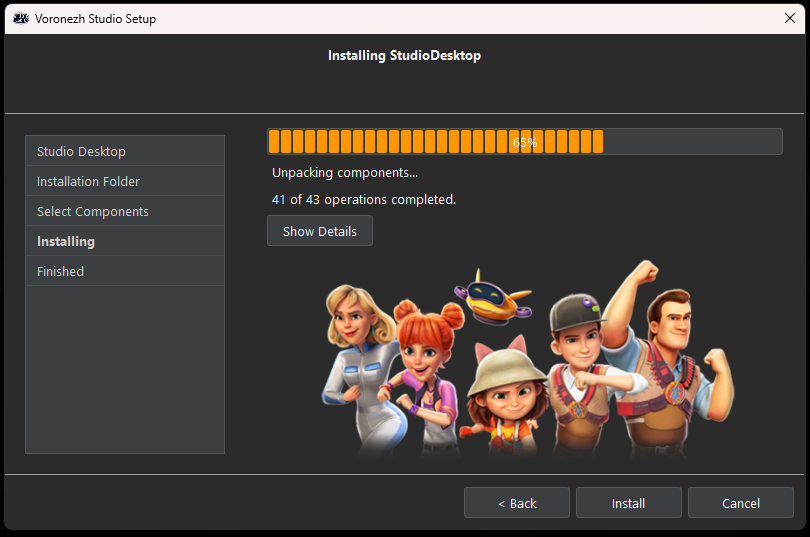
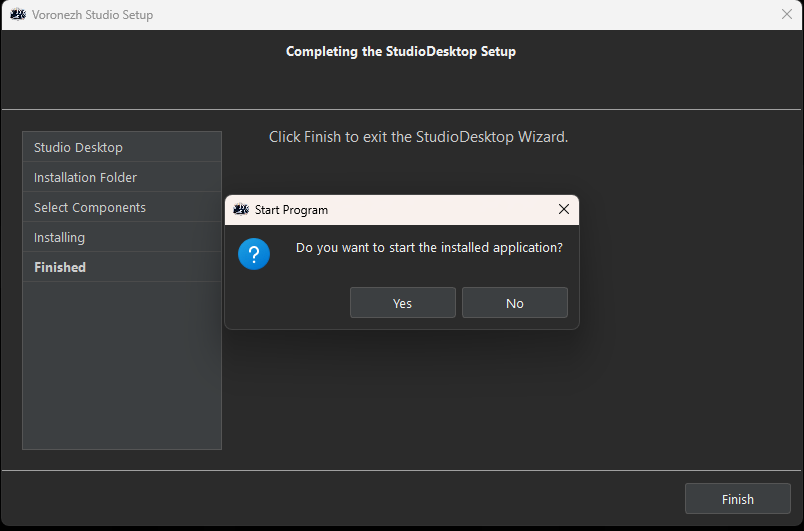
- Once the installation is complete, click
Yesto launchStudio Desktop.
Setting
- Launch
Studio Desktopvia the desktop shortcut, or use the following path (if you did not change the default installation folder):
C:/Program Files (x86)/Voronezh Studio/wizart_desktop.exe
- In the
Actionstab, enter the login and password provided by your animation coordinator. SelectSet Data Sync Login/Password.
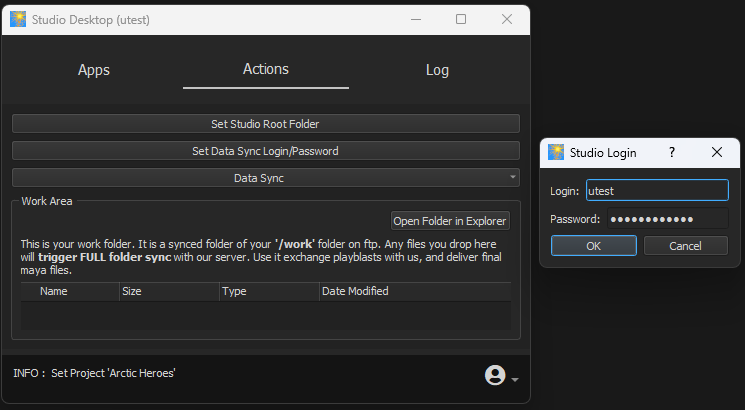
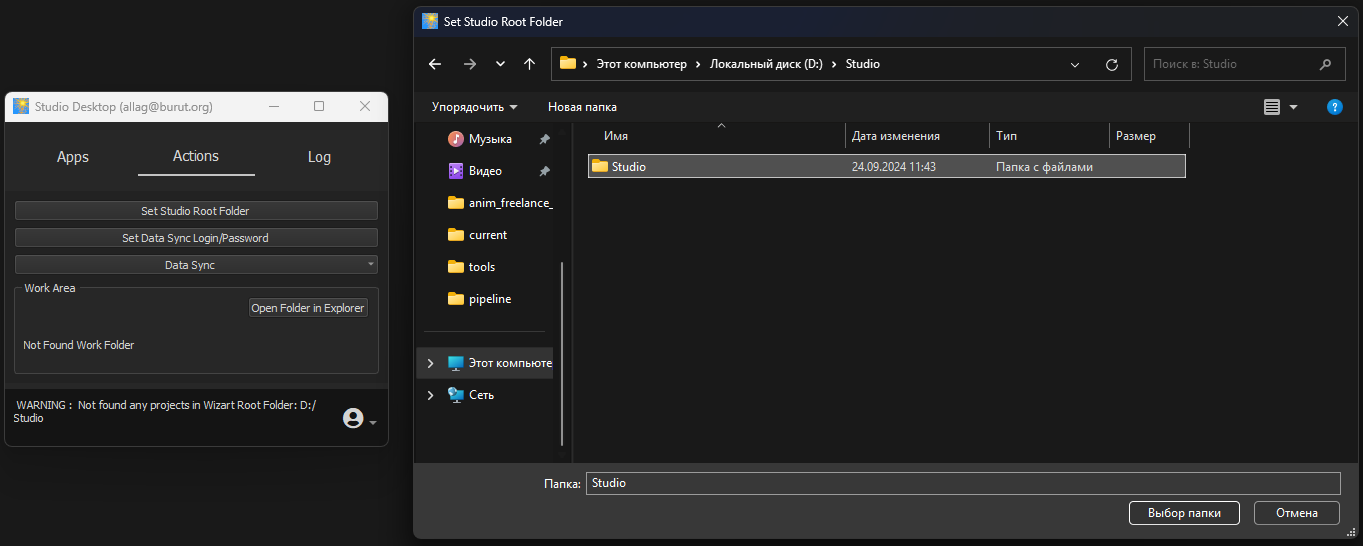
- Specify the project folder where you will store our assets. Ensure there is enough disk space. Select
Set Studio Root Folder.
How to Download Resources
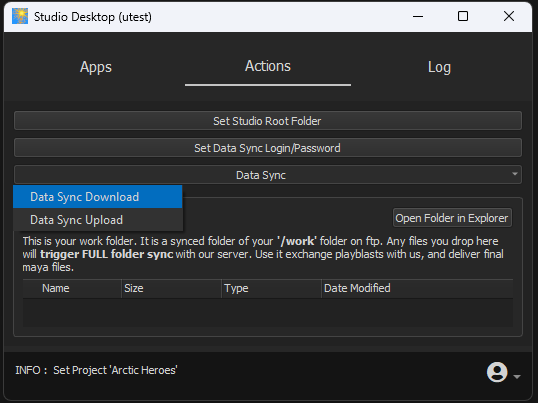
- Click on
Data Sync - Data Sync Download. If the login and password are correct, the file download will begin.
- After downloading, launch
Studio Desktop. Additional files (such as the pose library, updates, and the project itself) will be downloaded. You will need to periodically clickData Sync Downloadto continue downloading the next set of files.
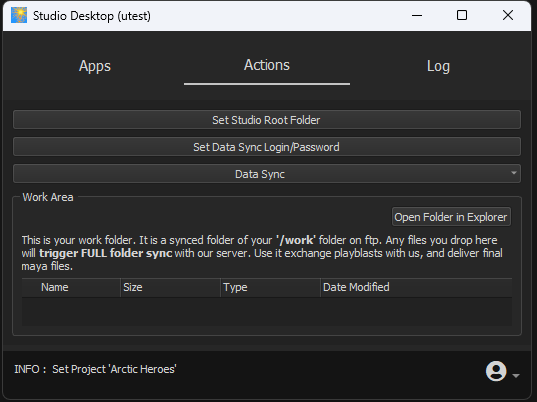
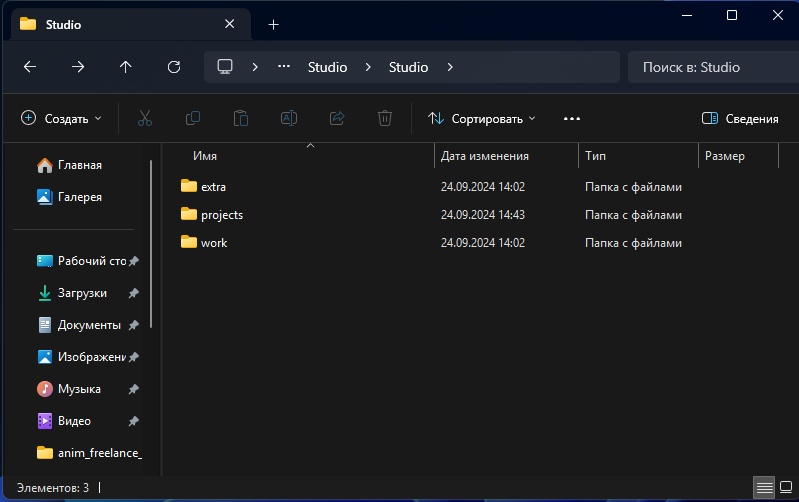
- Once the download is complete, all necessary resources will be available in the
projectsfolder. You will use theworkfolder to upload.mafiles of approved shots. We use theextrafolder to send you non-standard files, such as video comments from the director.
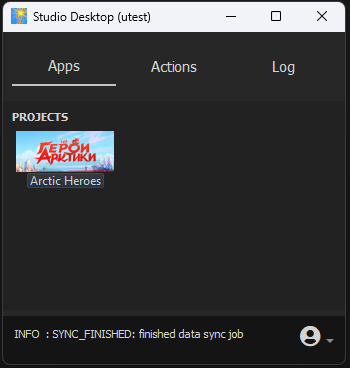
- After the first download, project configuration files will be loaded, and the project icon will appear in the
Appstab.
Alternative Download Method
For users experiencing access issues with our FTP server, we offer an alternative download method via Amazon S3. To use this method, contact support to verify that the issue is related to server access and receive new login and password.
You will receive the following information from your coordinator:
| Field Name | Description |
|---|---|
| login | Access credentials |
| AWS_ACCESS_KEY_ID | ДAccess credentials |
| AWS_SECRET_ACCESS_KEY | Access credentials |
| S3 Bucket Name | Resource name |
| S3 Bucket Region | Resource region |
-
Enable S3 Mode
-
To enable S3 mode, go to the
Settingswindow inStudio Desktop. -
In this window, check the box for
S3 Syncand input theS3 Bucket Nameand select theS3 Bucket Regionfrom the list.
-
-
Enter S3 Access Credentials
-
In the
Actionstab, click theSet Data Sync Login/Passwordbutton. -
Enter your
username,AWS_ACCESS_KEY_ID, andAWS_SECRET_ACCESS_KEY.
-